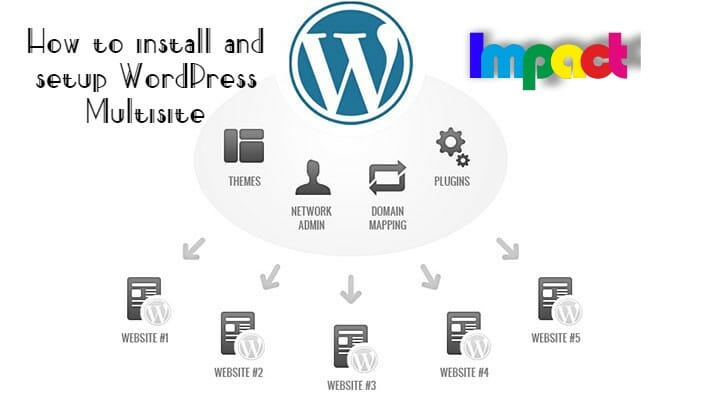
WordPress Multisite is a powerful feature of WordPress that allows you to manage multiple websites or blogs from a single installation. It’s a great option for businesses, organizations, or individuals who want to run multiple sites with ease. In this guide, we’ll walk you through how to install and setup WordPress Multisite.
Step 1: Determine if WordPress Multisite is right for you
Before getting started, it’s important to determine if WordPress Multisite is the right choice for your website. If you have multiple websites with similar functionality or design, or if you plan to add more websites in the future, Multisite can help you streamline your workflow and save time.
However, if your websites are very different from each other, or if you don’t plan on expanding your website network in the future, then it might be better to install separate instances of WordPress instead of using Multisite.
Step 2: Install WordPress
If you haven’t already installed WordPress, you’ll need to do so before setting up Multisite. Follow these steps to install WordPress:
- Download the latest version of WordPress from wordpress.org.
- Upload the WordPress files to your web server.
- Create a database for WordPress.
- Run the WordPress installation script and follow the prompts.
If you’re not sure how to complete these steps, refer to WordPress’s official installation guide for more detailed instructions.
Step 3: Enable Multisite
Once you’ve installed WordPress, you can enable Multisite by editing your wp-config.php file. Here’s how to do it:
- Connect to your website via FTP or your web host’s file manager.
- Find the wp-config.php file in the root directory of your WordPress installation.
- Open the wp-config.php file in a text editor.
- Add the following code above the line that says “/* That’s all, stop editing! Happy blogging. */”:
define(‘WP_ALLOW_MULTISITE’, true);
- Save the changes to your wp-config.php file.
Step 4: Install WordPress Multisite
Now that you’ve enabled Multisite, you can install it from your WordPress dashboard. Here’s how:
- Log in to your WordPress dashboard.
- Go to Tools > Network Setup.
- Choose the type of Multisite network you want to set up: subdomains or subdirectories.
- Enter a title for your network and your network admin email address.
- Click the Install button.
After you click the Install button, WordPress will display some code that you need to add to your wp-config.php and .htaccess files. Follow the instructions carefully to avoid any errors.
Step 5: Configure Multisite
Now that you’ve installed Multisite, it’s time to configure it to suit your needs. Here are some things you’ll need to do:
- Choose a domain structure: If you chose the subdomains option during installation, you’ll need to set up wildcard subdomains for your network. If you chose subdirectories, you don’t need to do anything else.
- Add sites: To add new sites to your network, go to My Sites > Network Admin > Sites and click the Add New button. Enter the site’s name, URL, and admin email address.
- Configure site settings: You can customize each site’s settings by going to My Sites > Network Admin > Sites and clicking on the site you want to edit. From there, you can change the site’s title, description, theme, and other settings.
Add users: You can add users to your network by going to My Sites > Network Admin > Users and clicking the Add New button. From there, you can create a new user account or add an existing user to your network. When you add a new user, you can choose to give them access to a single site or to the entire network.
To create a new user account, follow these steps:
- Go to My Sites > Network Admin > Users.
- Click the Add New button.
- Fill in the user’s details, including username, email address, and role (administrator, editor, author, contributor, or subscriber).
- Choose whether to send the user a welcome email with login information.
- Click the Add User button.
To add an existing user to your network, follow these steps:
- Go to My Sites > Network Admin > Users.
- Click the Add Existing User tab.
- Enter the user’s username or email address.
- Choose the site(s) you want to give the user access to.
- Click the Add User to Site button.
Step 6: Manage your network
Now that you’ve set up WordPress Multisite and added sites and users, it’s time to manage your network. Here are some tasks you’ll need to perform:
- Update WordPress and plugins: Make sure to keep your WordPress installation and plugins up to date to ensure security and performance.
- Monitor network activity: You can monitor activity across your network by going to My Sites > Network Admin > Dashboard. From there, you can see a summary of activity across all sites in your network.
- Manage themes and plugins: You can activate, deactivate, and manage themes and plugins for your entire network or for individual sites.
- Create and manage content: You can create and manage content for each site in your network separately or use the network-wide content feature to create content that appears on all sites.
- Troubleshoot issues: If you encounter any issues with your network or individual sites, you can troubleshoot them by using WordPress’s built-in debugging tools or by consulting the WordPress support forums.
Conclusion WordPress Multisite is a powerful feature that can save you time and simplify website management if you have multiple websites or blogs to manage. By following these steps, you can install and set up Multisite on your WordPress installation, add sites and users, and manage your network effectively. Remember to keep your network up to date, monitor activity, and troubleshoot issues as they arise to ensure your network runs smoothly
