
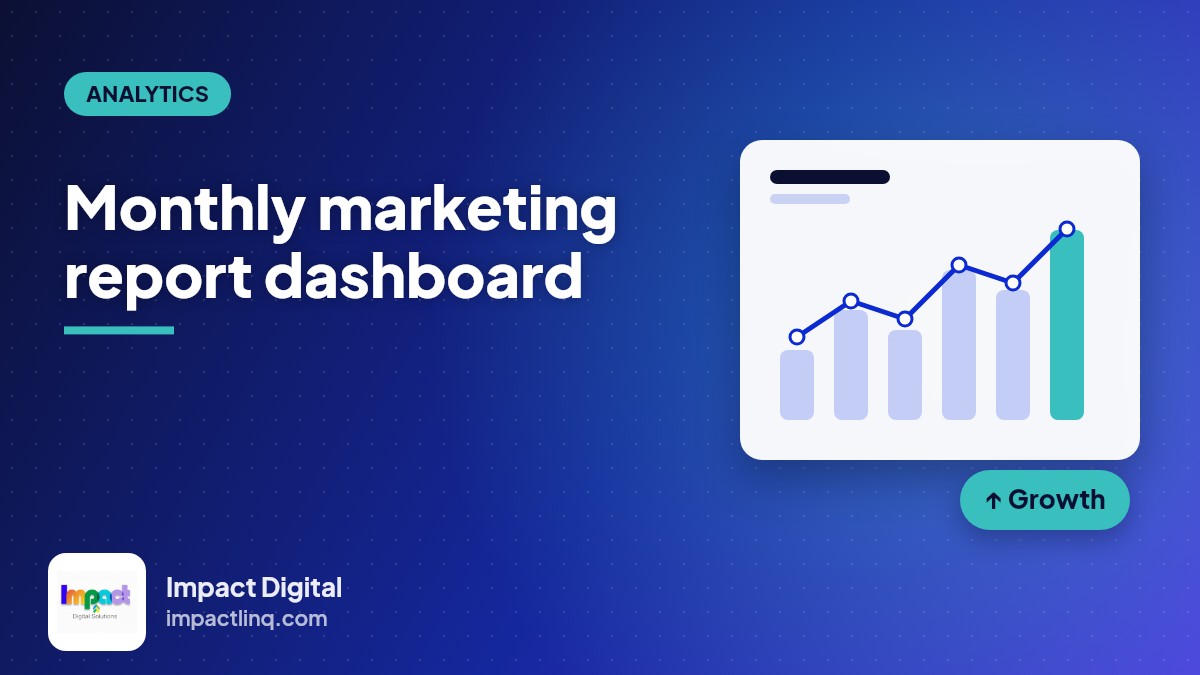
This guide is for small business owners, freelancers and agency staff who need one clear monthly marketing report instead of a pile of screenshots. You will connect Google Analytics 4 (GA4) and Search Console to Looker Studio, choose a short list of metrics, add a month-over-month comparison, and send the result by email on a schedule.
One naming note: Google’s current help pages say Looker Studio is now called Data Studio, and some pages still use the older name. Menu labels below follow those help pages, so your screen may differ slightly.
Contents
What a monthly report should contain
A busy reader wants to know whether things went up or down, and why. A one-page report with six to eight elements is easier to read, and easier to keep working, than a ten-page dashboard.
| Section | Source | Suggested metrics | Question it answers |
|---|---|---|---|
| Traffic overview | GA4 | Sessions, users, sessions by channel | Is the audience growing, and from where? |
| Outcomes | GA4 | Key events (form submissions, calls, purchases) | Is traffic doing anything useful? |
| Top pages | GA4 | Landing pages by sessions and key events | Which pages bring in and convert visitors? |
| Search visibility | Search Console | Clicks, impressions, average position | Is the site showing up more in Google? |
| Search demand | Search Console | Top queries and pages by clicks | What are people searching for before they arrive? |
Key events only mean something if you have defined them properly. If you have not, set them up first using our guide to GA4 key events for a small business site, otherwise the outcomes section of your report will be empty.
Enjoying this? Get our best tips by email
Practical SEO, link building and content strategies, straight to your inbox.
Step-by-step setup
1. Check your access
For GA4 you need at least Read & Analyze permission on the property. For Search Console you need to sign in to both products with the same Google Account and have at least view permission on the property.
2. Create the GA4 data source
- On the home page, click Create, then Data Source.
- Select the Google Analytics connector and click AUTHORIZE if prompted.
- Choose the account, then the GA4 property.
- Click CONNECT in the upper right. The fields panel opens.
In the fields panel you can rename fields and add calculated fields, which helps if you want friendlier labels than raw event names.
3. Create the Search Console data source
Repeat the process with the Search Console connector. You will choose a site in the Sites panel, a table in the Tables panel, and a default search type in the Search Type panel.
The table choice matters. Site Impression aggregates data by site, while URL Impression aggregates by page. One data source can use only one table type, so if you want both views, create two data sources and add both to the same report.
4. Set the credentials
At the top of each fields panel you can choose OWNER’S CREDENTIALS, VIEWER’S CREDENTIALS or SERVICE ACCOUNT CREDENTIALS. With owner’s credentials, people viewing the report do not need their own access to the data. With viewer’s credentials, each viewer needs their own access, and will see errors without it. Owner’s credentials are the practical choice for client reports, but they expose data you can access to anyone the report is shared with.
5. Build the report
Click CREATE REPORT, then ADD TO REPORT. Add the second data source with the Add data button. Then place:
- Scorecards for sessions, key events, search clicks and impressions.
- A time series of sessions and clicks across the month.
- A table of landing pages with sessions and key events.
- A table of top queries with clicks, impressions and position.
Keep each chart tied to one data source. To help read the query table, see our walkthrough of the Search Console performance report.
Date ranges and month-over-month comparison
Set the default range once so the report opens on the right period. Choose File > Report settings, open the SETUP tab, and under Default date range filter pick Auto or Custom. According to the help page, Auto uses the connector’s default, which is the last 28 days for Analytics.
For a calendar-month report, choose a custom range. A rolling preset such as last month keeps the report current without editing, and the Advanced option lets you build custom start and end dates using fixed values or offsets from today.
To add the comparison, select a chart, open its SETUP tab, and choose a period under Comparison date range, such as Previous period or Previous year. Comparison ranges are available for time series, tables, area charts and scorecards, and only editors can set them.
A date range control lets viewers change the period, and they can override your default, so a scheduled PDF is the safer way to deliver a fixed view.
Sharing and scheduled email delivery
- Open the report and click Share, then Schedule delivery.
- In the Create schedule dialog, add recipients (you are always included) and optionally pick the pages to send.
- Set the start date and time, then use Repeat to choose the frequency.
- Click Schedule.
The email attaches the report as a PDF, shows a preview of the first page, and links to the full report. The PDF uses the report’s default filter and date range unless you change them in the schedule’s Filters tab. Google’s help page lists these limits:
- A schedule can include no more than 50 recipients.
- Without Pro, a report can have one schedule, sent at most once per day. Pro allows up to 200 schedules per report and sending as often as once per hour.
- Each user can send scheduled emails to a limited number of recipients: 200 per day and 800 per month for individual accounts, and 500 per day and 3,000 per month for Google Workspace. Pro is listed as unlimited.
- Schedule times follow your operating system’s timezone, which you cannot change in the product.
Common pitfalls
GA4 API quota limits
The GA4 connector’s help page states that reports are subject to GA4 Data API quotas, and reports that exceed them may show an error. The Data API documentation lists the Core limits for a standard property: 200,000 tokens per property per day, 40,000 per property per hour, and 14,000 per project per property per hour. Once any of these buckets is empty, further requests to that property return a 429 RESOURCE_EXHAUSTED error. Daily quotas reset at midnight Pacific time.
The same page says token cost depends on request complexity. A sensible way to stay under the limits is to keep reports lean: fewer charts per page and fewer high-cardinality dimensions such as full page paths.
Data freshness
Looker Studio caches data. For Google Analytics you can choose to check for fresh data every 1, 4 or 12 hours, and 12 hours is the default. Search Console refreshes every 12 hours and that cannot be changed. To change the Analytics setting, edit the data source and click Data freshness. Editors can also use More options > Refresh data, with a one-minute cooldown between manual refreshes.
Thresholding
GA4 may withhold rows to protect user privacy. The Analytics help page says thresholds are system-defined and cannot be adjusted, and that they can apply to reports with demographic data or search query information when there are too few users. Narrow date ranges are more likely to trigger it, so widening the range can help. Leaving demographics out of a simple monthly report avoids the problem.
Hidden search queries and other quirks
- Search Console may hide some queries for privacy, and they can appear as a single row with a blank value. Filter out nulls if it distorts your table.
- GA4 segments and comparisons are not supported through the connector, so build filters in Looker Studio instead.
- Numbers may differ slightly from the GA4 interface. The connector matches the underlying data in Analytics, but not Explorations.
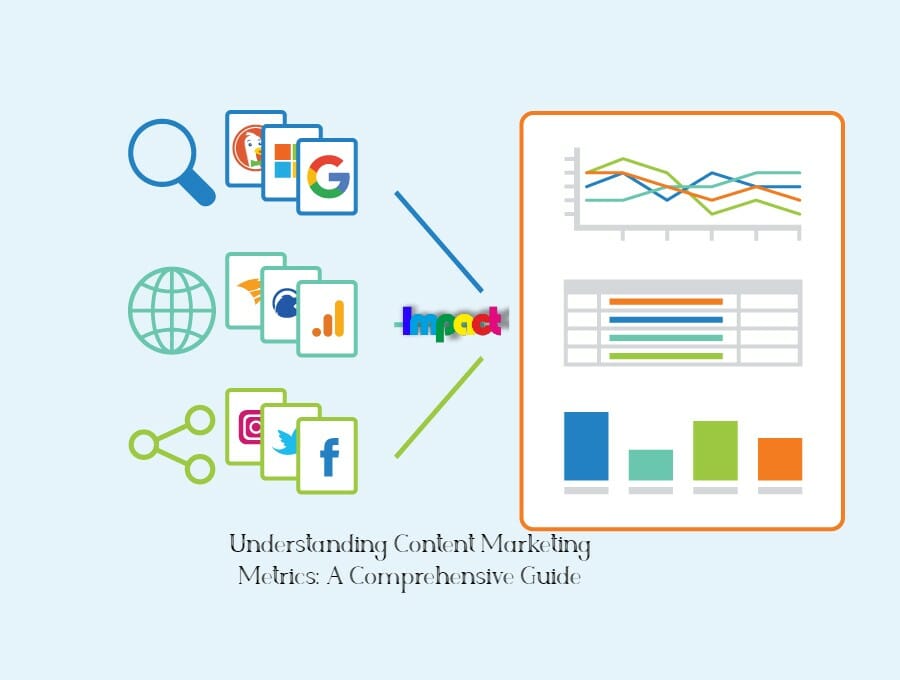
For a wider view of which numbers belong in a report, see this overview of content marketing metrics.
Key takeaways
- Keep the report to one page: sessions, key events, landing pages, search clicks, impressions and top queries.
- Create separate GA4 and Search Console data sources, and use two Search Console sources if you need both site and URL tables.
- Set the default date range in report settings and add a previous-period comparison on each chart.
- Use Share > Schedule delivery for a monthly PDF, and plan for quota errors, cached data and thresholding.
FAQ
Is it free to connect GA4 and Search Console?
The connector help pages mention no connector fee, and the one-schedule, once-a-day limit without Pro is enough for a monthly email. Pro adds more schedules and hourly delivery; check Google’s current pricing if you need those.
Why do my report numbers differ from GA4?
Common causes are a different date range, cached data, thresholding, or comparing against an Exploration, which the connector does not match.
Why does my report show a quota error?
The property has probably used up a Data API token bucket. Simplify the charts and try again after the quota refreshes.
What is the easiest way to share the report with a client?
A scheduled email is the simplest option. Recipients get a PDF attachment and a preview, so they do not need to sign in or have access to your GA4 or Search Console properties to read it.